How to Pick the Best Milk for Coffee and Lattes at Home
A practical guide to choosing and steaming milk for espresso drinks, from fat content to non-dairy options.
A good latte starts long before the espresso hits the cup. The milk you pour matters almost as much as the beans, and most people never think about it until a drink tastes flat or the foam collapses in seconds.
Why Milk Chemistry Changes Your Coffee
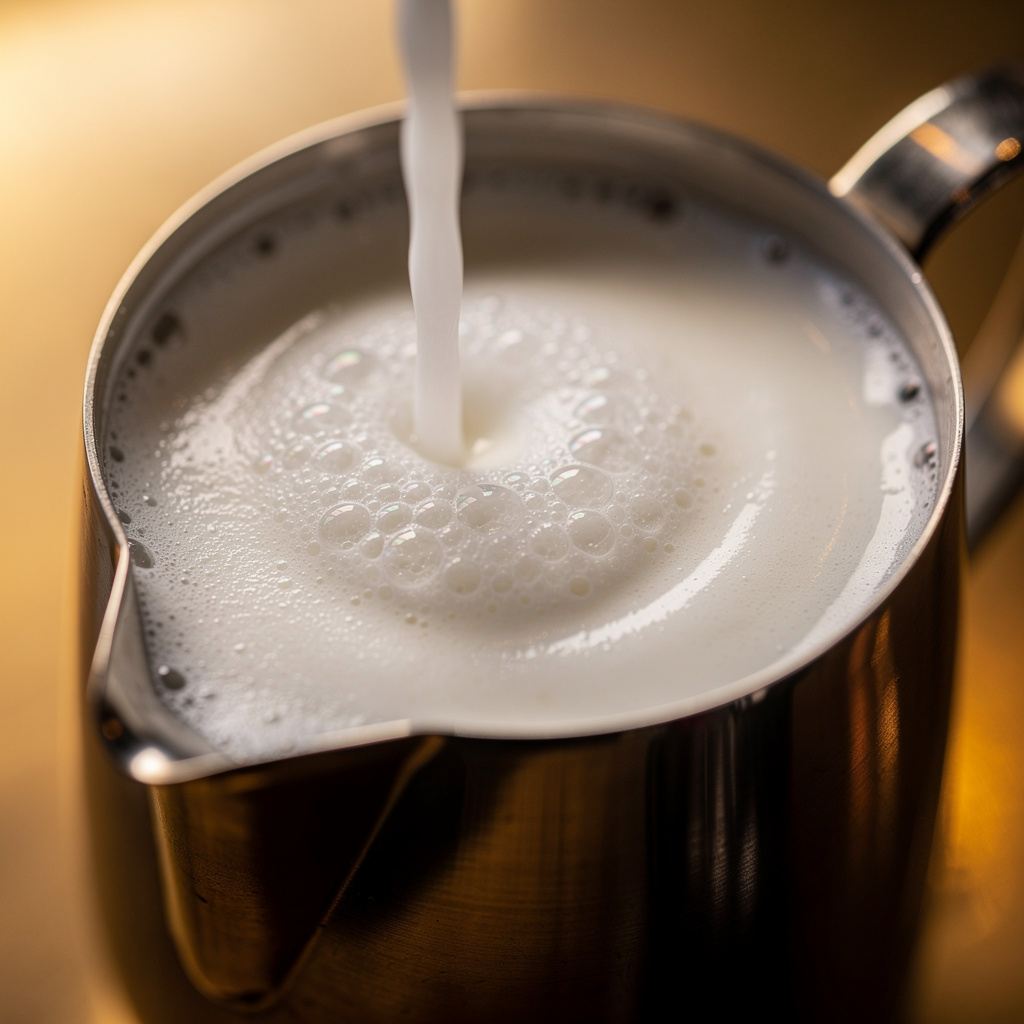
Milk foam depends on protein and fat working together. Proteins trap air bubbles when you steam the milk, while fat gives the foam a smooth, glossy texture instead of dry, soapy bubbles.
Too much heat breaks down these proteins, which is why milk steamed past 160°F often tastes scorched and loses its sweetness. The natural sugars in milk, mainly lactose, also caramelize slightly with gentle heating, adding a subtle sweetness that sugar alone can't replicate.
Whole, Skim, or Something in Between
Whole milk, at roughly 3.25% fat, produces rich, stable foam with a creamy mouthfeel that most café-style lattes rely on. Skim milk foams faster and holds bigger bubbles because there's no fat to weigh them down, but the texture ends up thinner and less silky.
2% milk sits in the middle and is what many home baristas settle on after experimenting. It steams almost as easily as skim but keeps enough fat to avoid that watery aftertaste some people notice with fully skimmed milk.
Non-Dairy Milks and Their Quirks
Oat milk has become a default alternative in many cafés because it froths reliably and has a neutral, slightly sweet flavor that pairs well with espresso. Barista-blend versions usually contain added oils or gums specifically to help with foam stability, so the regular carton from the cereal aisle won't behave the same way.
Almond milk froths less predictably and tends to separate if steamed too hot, while soy milk can curdle when it meets highly acidic espresso, especially with darker roasts. If you're experimenting, start with a small batch and steam it slightly cooler than you would dairy milk, around 140°F instead of 150°F.
Sourcing Milk That Steams Well
Freshness affects foam more than most people expect. Milk that's been open for a week, even if it hasn't soured, loses some of its protein structure and won't foam as tightly as milk from a carton opened that same morning.
Local dairies and smaller producers often pasteurize at lower temperatures than large industrial operations, which can preserve more of the proteins responsible for stable foam. If your usual grocery store milk isn't giving you the texture you want, it's worth checking whether a nearby dairy delivers or sells directly to the public — some home baristas end up ordering through a dedicated supplier once they notice the difference in a single week of testing. Sites like buy milk2 list regional dairy options for people who want to compare fat content and freshness before switching from supermarket cartons.
Buying in smaller quantities more often, rather than a large jug that sits in the fridge for two weeks, also keeps your milk closer to its peak for foaming.
Getting the Temperature and Texture Right
A cheap milk thermometer clipped to the pitcher removes most of the guesswork. Aim for 150–155°F for lattes, which is warm enough to taste sweet without crossing into scorched territory.
Tilt the steam wand slightly off-center so the milk spins in a tight whirlpool rather than just bubbling at the surface. That spinning motion is what breaks large bubbles into the fine, velvety microfoam you see poured into latte art.
Practice with plain milk before worrying about pour patterns. Once the texture feels right in the pitcher, pouring a decent heart or rosette becomes a lot easier, and the coffee underneath tastes noticeably better too.